Checklists Help
Stec Records - StecTools
Note - If the images in this document seem off, try holding the Shift key down and clicking the reload icon to force a reload.
This is a help document for the Stec Records “Checklists” app which allows you to create checklists for keeping track of equipment and other items moving from one location to another such as, to and from a gig or going on a trip. The provides support for your browser’s speech synthesis, speaking the list out loud using a voice you can select. Import and export are also provided to CSV (comma separated values) that can be used with a spreadsheet.
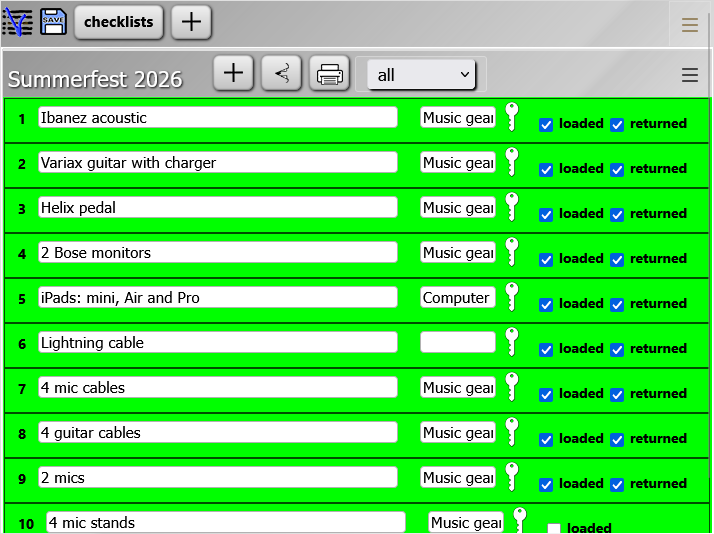
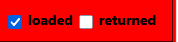
The app lets you create multiple lists that can be sub-grouped using keywords with a checkbox labeled "loaded" that turns the background red and reveals a second checkbox labeled "returned" when clicked. The background turns green when the “returned” checkboxes for all the checked “loaded” items have been checked.
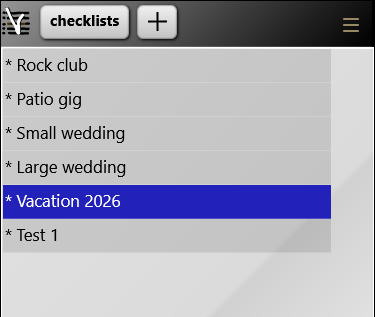
The “checklists” button shows or hides the list of lists on the left or navigates to that list on phone screens.
The form background turns green when the “returned” checkbox for all the “loaded” items are checked.
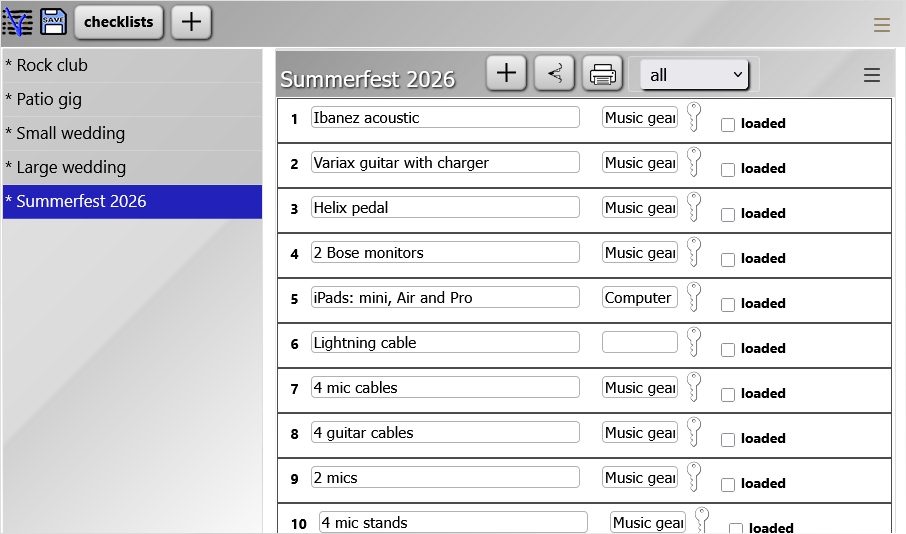
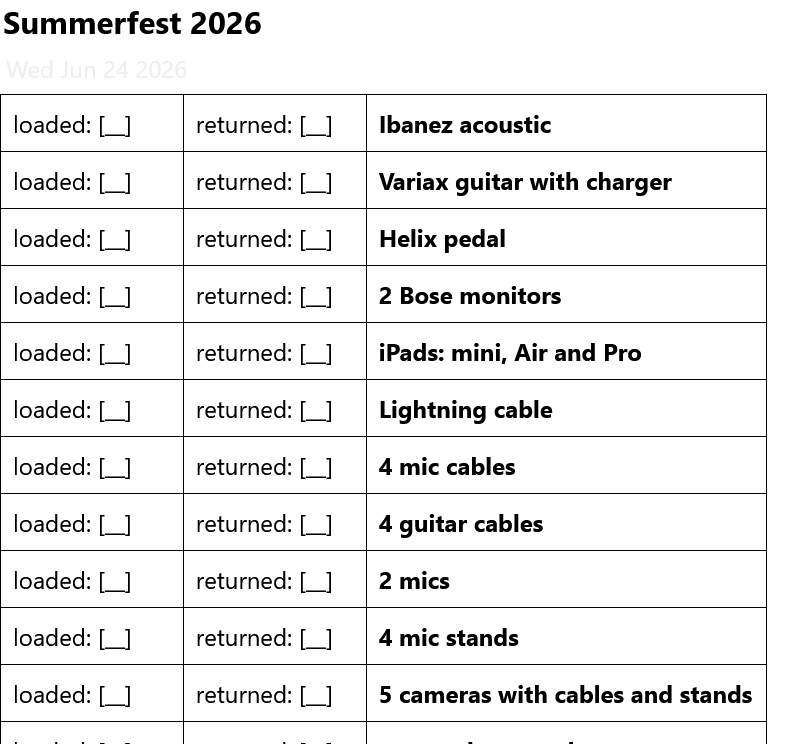
Each item gets a numbered row with a space for the name of the item and a space for keywords for the item, a “loaded” checkbox and a “returned” checkbox as follows:
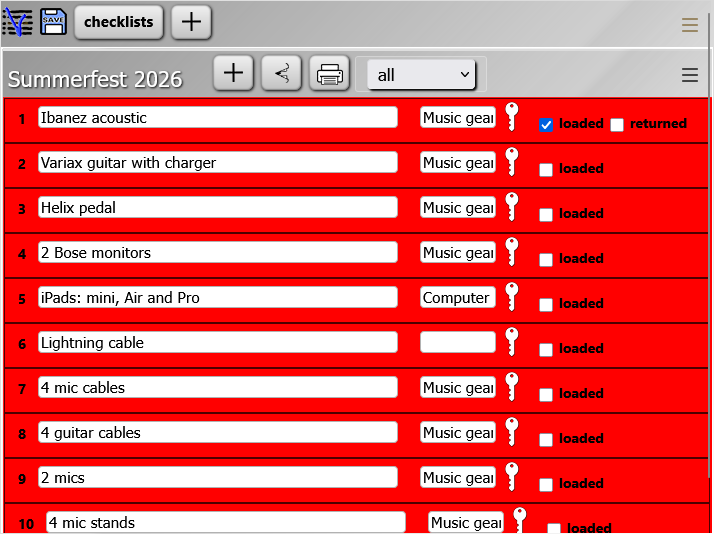
When the “loaded” checkbox is checked but the “returned” checkbox is not, the background turns red
Note that if ANY of the loaded items is not returned the background remains red.
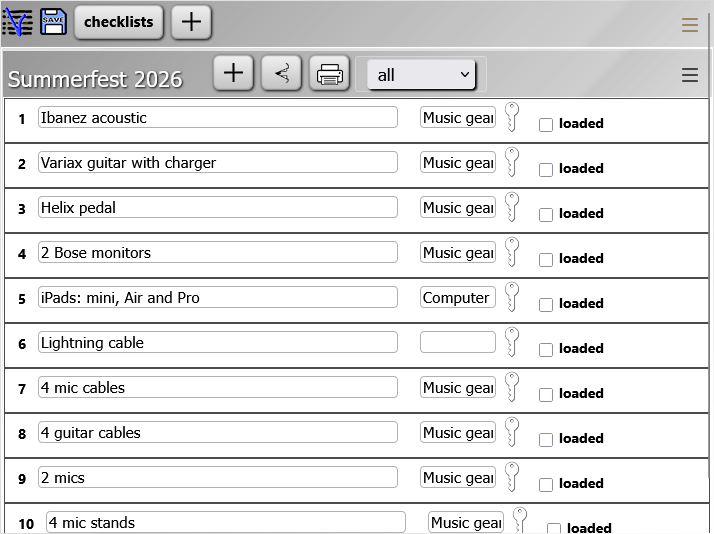
or on a phone:
The + button on the top toolbar adds new lists.
The voice button uses the voice synthesiser on the browser to speak the list outloud. The voice can be selected from the main menu .
The print button sends the list to the device's printer to make a hard copy or PDF of the list.
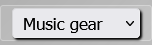
The keywords combo-box accumulates values that are entered into the Keywords field of each item which can then be selected to provide filtering of the list. i.e.
The “save” icon appears when changes have been made that can be saved such as adding new lists and editing the contents.
Shows or hides the list of saved checklists in a panel that opens on the left of the screen except on phone screens where it navigates back to the list of lists.
The + button on the main toolbar creates a new checklist and opens it.
The menu button opens the main app menu (Menu).
When a new list is created or a list is edited, the “Save” button appears allowing you to save all changes for future reference (i.e. you reload the page).
Sends a copy of the list to the computer’s printer system where a hard copy, PDF or other export can be done.
The background color of a list indicates the current “state” of the list.
Red indicates that the “loaded” checkbox one one or more of the items has been checked but an associated “returned” checkbox of one or more items is not checked.
Green indicates that all of the “returned” checkboxes for all of the “loaded” items have been checked. This generally means that all of the items that were loaded were returned.
The background of the list turns white if none of the items have the “loaded” checkbox checked.
The first panel (on left except on the phones) shows all of your saved checklists.
The second panel (on the right except on phones) shows the selected checklist.
The + button adds a new item to the list. The new item appears at the bottom of the list.
The speak button starts the browser’s voice synthesis reading the contents of the list. A second press of the button stops it.
Sends the current list to the device's printer to create a hard copy or PDF.
Filter combo box
The filter combo box provides a list of all the unique keywords which can be selected to show only those items. This is especially helpful for long lists with different types of items. i.e. Food, Clothes, Audio Equipment, Lights, .. The list is formatted like this:
A text field appears to the right of the item number where you can enter a name for the item.
The second text field is for optional keyword values that can be used to organize/group items in the list. Values entered into the keyword field get added to the filter combo box on the list’s toolbar.
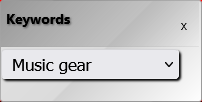
Click the key icon to open a keyword-picker allowing you to select from the existing keywords.
Causes the background of the list to turn red if the associated “returned” checkbox is not also checked. The background turns green when the “returned” checkbox for all the items with the “loaded” checked are checked.
Causes the background to turn green when the “returned” checkbox for all the items with the “loaded” checkboxes checked are themselves checked.
Unchecks all of the “loaded” checkboxes for the active list.
Removes all items from the active list.
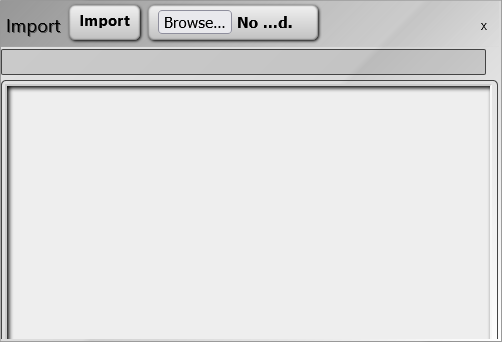
Opens the Import panel where data can be imported from a file or via email.
Opens the voice-picker that lets you select which browser-voice-synthesiser to use.
Hides the advertisements that appear along the bottom of the screen.
Opens a panel that lets you send a comment to the author.
Opens a panel that shows the contents of the changelog.txt file which outlines changes made to the application.
A development tool that copies the contents of the debug log to the clipboard. *Only shows when logging is enabled.
A development tool. Opens a panel showing the debug log. *Only shows when logging is enabled.
Shows the splash screen which displays the version number as well as an overview of what the app does..
Opens the help document.
Turns the hover-help on and off. The hover-help can get annoying but can be helpful early on.
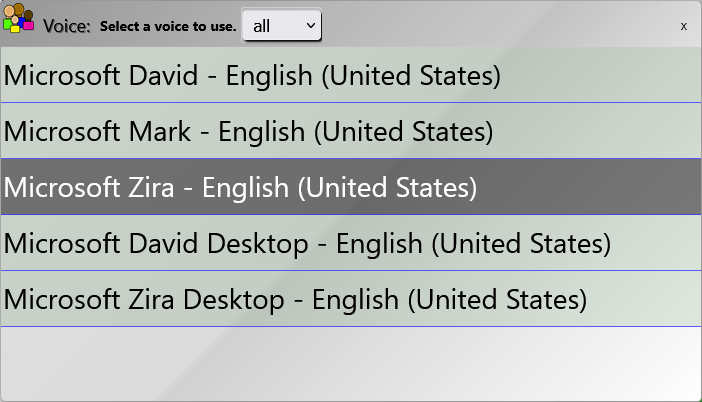
The “Speaker voice” option in the main menu opens the Voice picker that lets you choose which voice provided by the browser to use. Note that the available voices vary based on the browser but Apple’s Safari browser currently provides the most interesting selection.
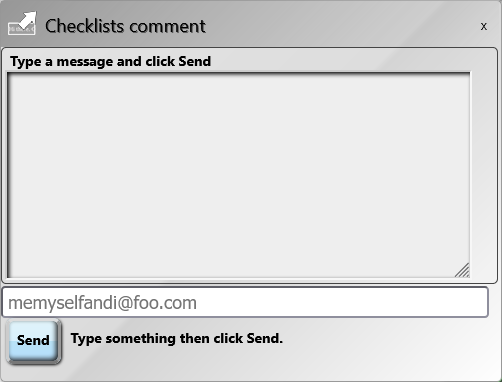
The Comments panel allows you to send comments, suggestions and to report bugs to the Stec Records development team. Not all comments will get a response but include an email address if you are requesting one.
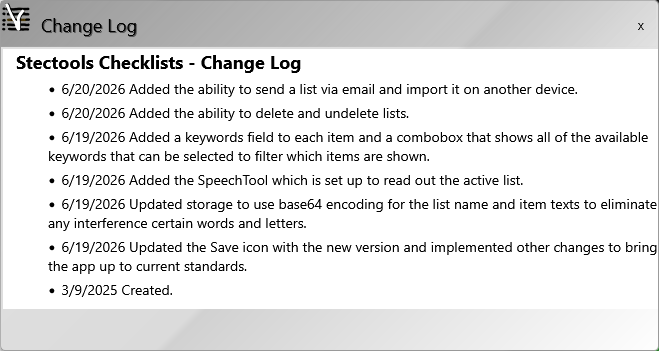
The Change Log shows changes made to the app.
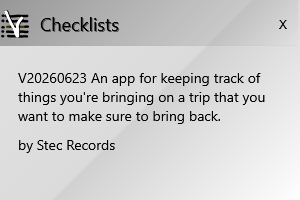
The “About” panel shows the current version of the app (the date it was released) and a brief summary of the app.
Appears briefly on startup but can also be seen by clicking on the app icon in top left of the app or from the “About” item in the main menu.
The Help item in the main menu opens a panel showing this document.
The background will turn red when one or more items are checked as “loaded” but not “returned”.
The Checklists app provides several ways of importing and exporting data.
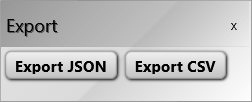
To export a list, open the list menu and select “Export a list” to open the Export panel.
Saves the contents of the current list to a text file on your computer, letting you choose the name and location. These files can then be imported using the Import panel.
Saves the contents of the current list to a .csv (comma separated value) file that is suitable to import into a spreadsheet.
To import a list, open the main menu and select “Import a check-list” to open the Import panel.